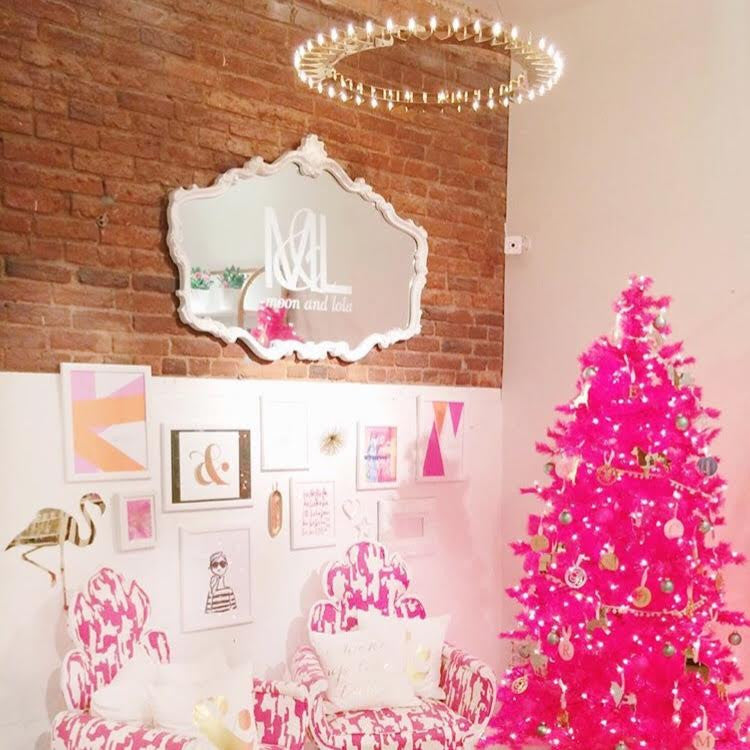
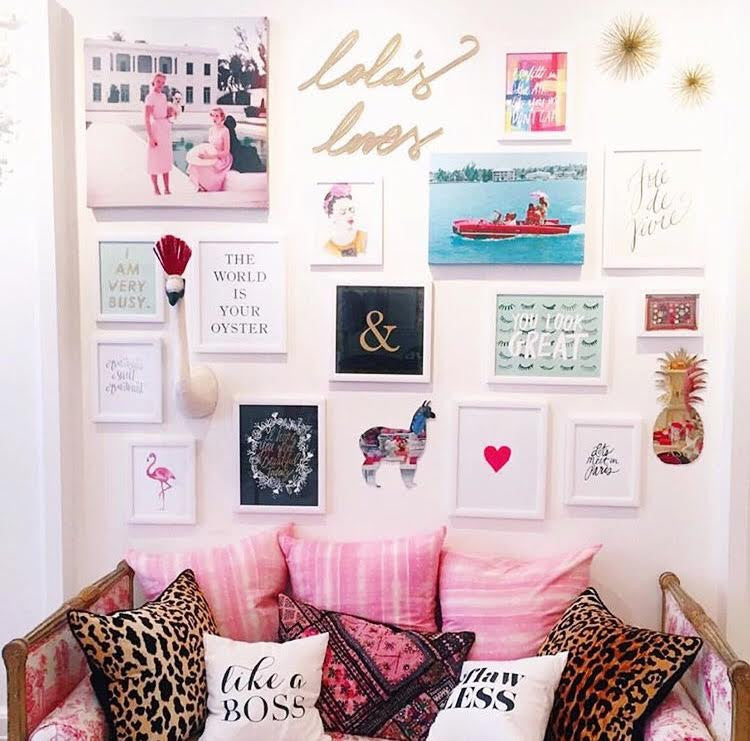
Gallery walls have become a Moon and Lola staple. We absolutely adore seeing pictures on Instagram of our retail stores’ gallery walls through the eyes of our customers. There is something really special about having a collage of your favorite quotes, trinkets, and pictures all in one space. Today we have put together a DIY how-to so that you can create your own gallery wall! (Yeah, we’re talking to you - girl with the collection of prints in the corner of your bedroom just waiting to go in frames.) A rainy Saturday is just around the corner and the gallery wall of your dreams is just one how-to away!


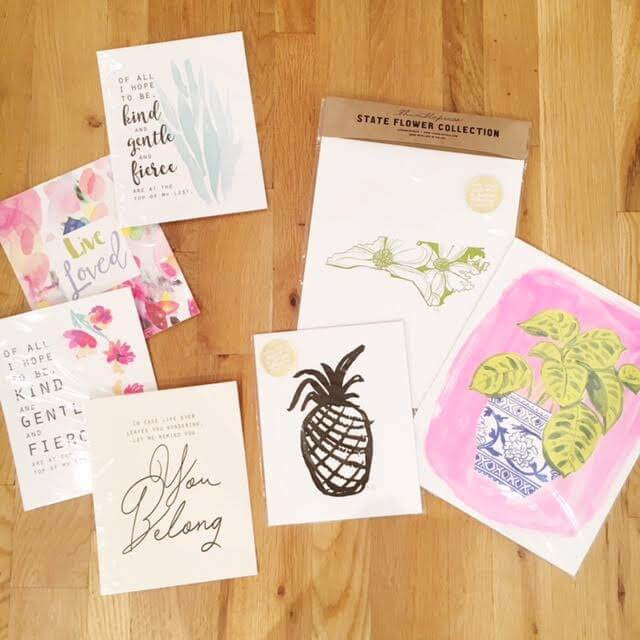
Let's get started. First, you want to find your favorite prints! We love everything by Thimblepress, Cleerely Stated, Ban.do, Read Between The Lines, and Yellow Owl Workshop. Psst.. If you do not see a print you like on our website, we have a great selection in our retail stores!
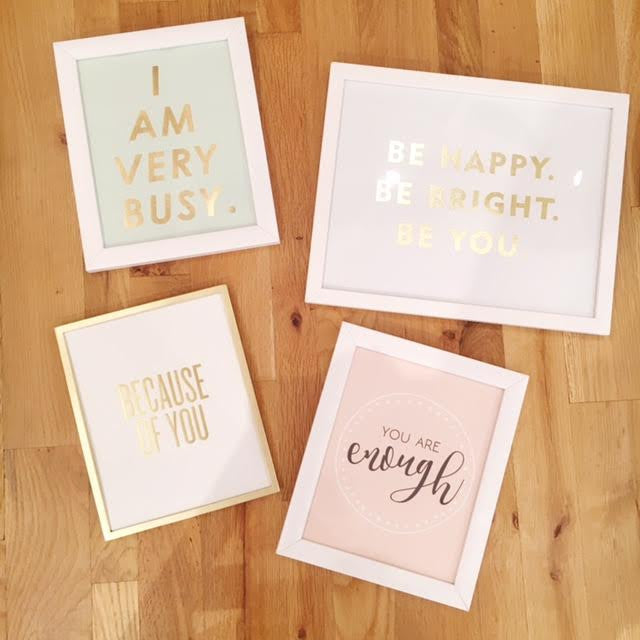
Next, you want to get those lovelies into frames. We love going with a basic white or gold; that way, the print really sticks out and makes a statement.
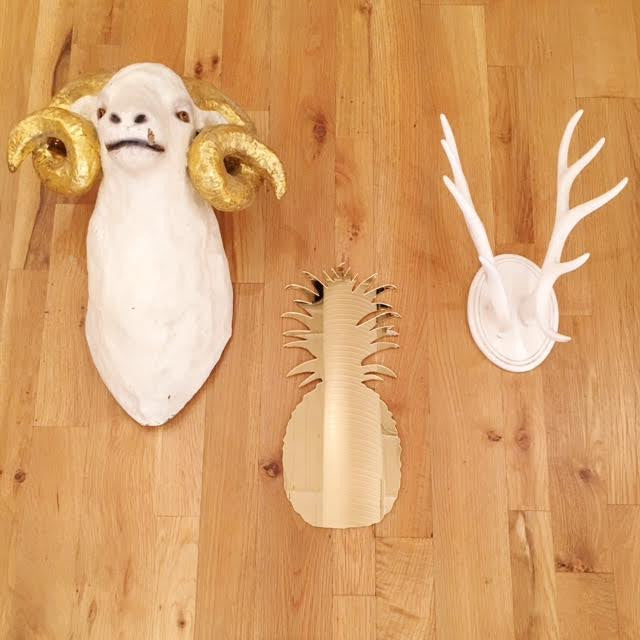
You then pick out bold pieces that have dimension. We love antiques, animal mounts, or Moon and Lola wall arts, of course.
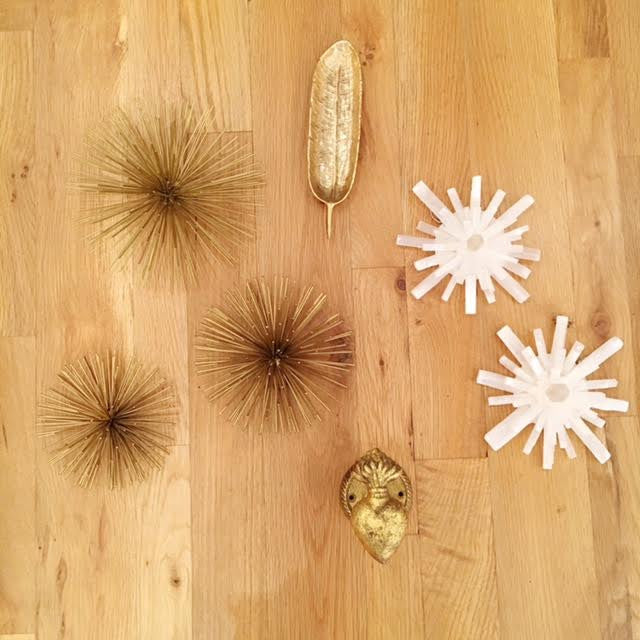
Last, but most certainly not least, are the extra little details that make your gallery wall super special. We love starbursts of all kinds, trinket trays (yes these can be hung on walls, and yes they are adorable), and cute little antiques like this heart shaped doorknob.
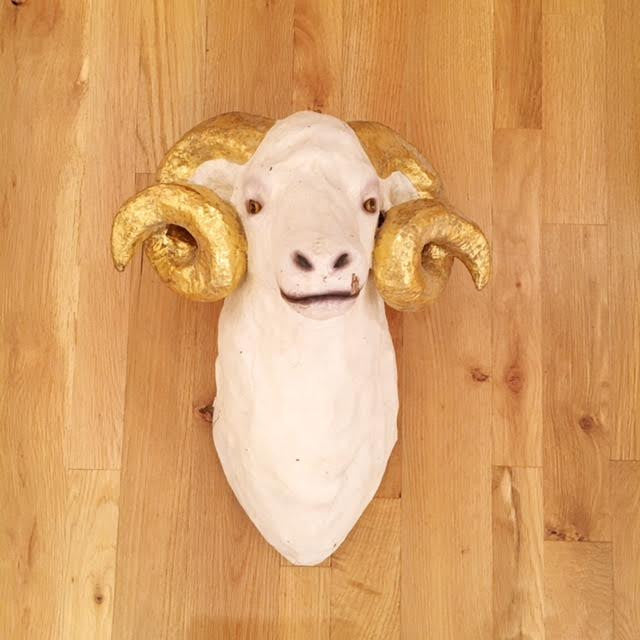
When you have everything collected for your gallery wall, you can then move on to the next step. A great tip that we here at Moon and Lola find extremely helpful when putting together gallery walls is using the floor! Once you figure out how you want your gallery wall to look on the floor, it is much easier when you are ready to start hanging them on your wall!
You want to start with your larger pieces which have dimension. You want to make sure you have room for these guys so we start with them first. We suggest putting them in the center if you have one so that it seems balanced when it’s all said and done. If you have more than one, you will want to put them on either end of where your gallery wall will be.
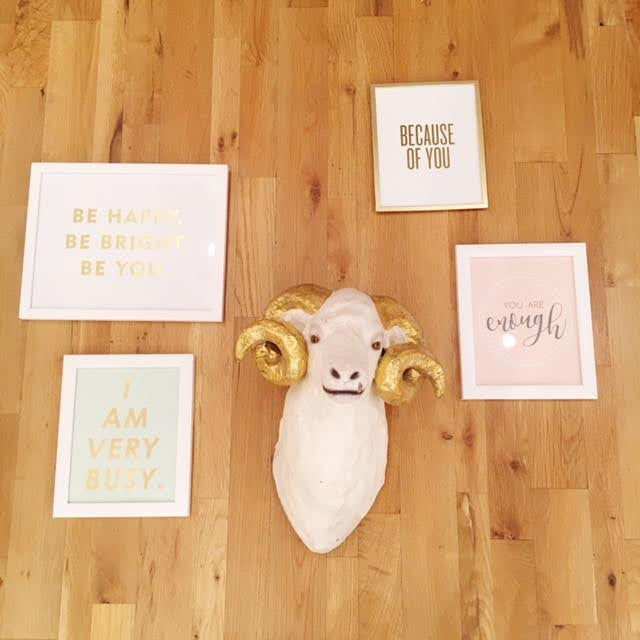
Next, add your framed prints. Scatter them around, but try to keep things balanced. Space larger items away from each other and preferably on opposite sides. Pay attention to collections of smaller objects as well. Your wall would look unbalanced if all the large objects were on one side and all the small art on the other. This goes for color too; you do not want to put two prints with the same colors on the same side. You want the color to be dispersed evenly.
After you add your frames, you can then add in your starbursts.

Then your little trinkets…
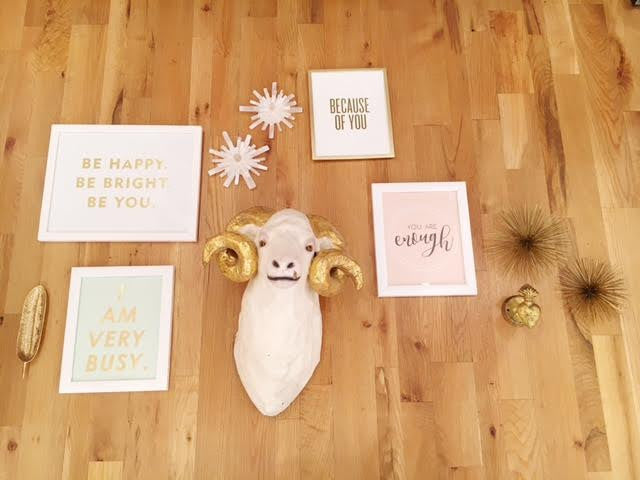
And lastly, a pop of color!

And there you have it! Your adorable little gallery wall. That wasn't that hard now, was it? When you have it all laid out exactly how you want it, you will, one piece at a time, attach to your wall. We suggest using a measuring tape to see how far they are spaced and Command Strips! These are so helpful and you will never want to use a nail and hammer ever again except when dealing with heavier pieces.
Please show us your gallery walls with #edwardterrylandscapeGalleryWall on Instagram! We can’t wait to see how you display your favorite pieces and you just might win a $100 gift card!
Xoxo,
Moon and Lola

I would love to know where the animal mount in this post is from! So cute!